
Foam Rolling Checklist: 7 Areas to Target After Leg Day
Leg day earns its reputation. The workout itself is hard, but the real bill arrives a day or two later, when your quads protest every staircase and your glutes file a complaint about the toilet seat. Foam rolling won't erase that soreness — nothing does — but ten focused minutes can take the edge off, restore some range of motion, and make your next session feel less like punishment.
The catch is knowing where to roll. Most people grab the roller, find the sorest spot, and grind away on it until their eyes water. That's not a plan. Here's a checklist of seven areas worth targeting after leg day, plus how to work each one without turning recovery into another workout.
Set the Rules Before You Roll
Technique matters more than pressure. A few ground rules keep the session useful:
- Go slow. Roughly an inch per second. Fast rolling mostly irritates tissue.
- Hold, don't hunt. When you find a tender spot, pause there for 30 to 90 seconds and breathe out slowly.
- Discomfort is fine; sharp pain is not. If you're clenching your jaw and holding your breath, back off.
- Stay off joints, bones, and the lower back. Roll muscle bellies, not kneecaps or the spine.
- Add pressure with your body, not speed. Stack one leg over the other or lift your hips slightly to dig deeper.
- Timing is flexible. After training or on an off day works well. Keep pre-workout rolling brief and gentle.
The Seven-Area Checklist
Work down the list or jump to whatever feels tightest. Two passes over each area is plenty.
1. Calves
Most lower-body soreness hides here, and tight calves pull on everything above them. Sit with the roller under one calf, stack the other leg on top for pressure, and sweep from just below the knee to above the ankle. Turn your toes slightly in and out to hit different angles, and pump your foot up and down a few times at each tender spot. Skip the back of the knee itself.
2. Hamstrings
Sit on the roller with one leg extended and the other bent for support. Roll from just under the glute to just above the back of the knee. Rotating your leg slightly inward and outward changes which part of the hamstring gets attention, which matters after Romanian deadlifts or sprints. Keep the pressure moderate — this area bruises easily.
3. Quads
Lie face down on your forearms with the roller under the front of one thigh. Move slowly from above the kneecap to the top of the thigh. Bending and straightening your knee as you roll helps the tissue glide. If you did heavy squats or leg press, expect the outer sweep of the quad to be the loudest complaint.
4. Adductors
This is the one almost everyone skips, and it's often where squat-related tightness actually lives. Lie face down, take one leg out wide, and angle the roller diagonally under your inner thigh. Work gently from near the knee up toward the groin, stopping short of sensitive areas. Slow, light passes only.
5. Glutes and Piriformis
Sit on the roller, cross one ankle over the opposite knee, and lean toward the crossed side. Work the meaty part of the glute, not the tailbone. Small shifts in your lean angle will find different knots. This is a good spot to hold for 60 seconds rather than chase the perfect position.
6. Outer Hip and TFL
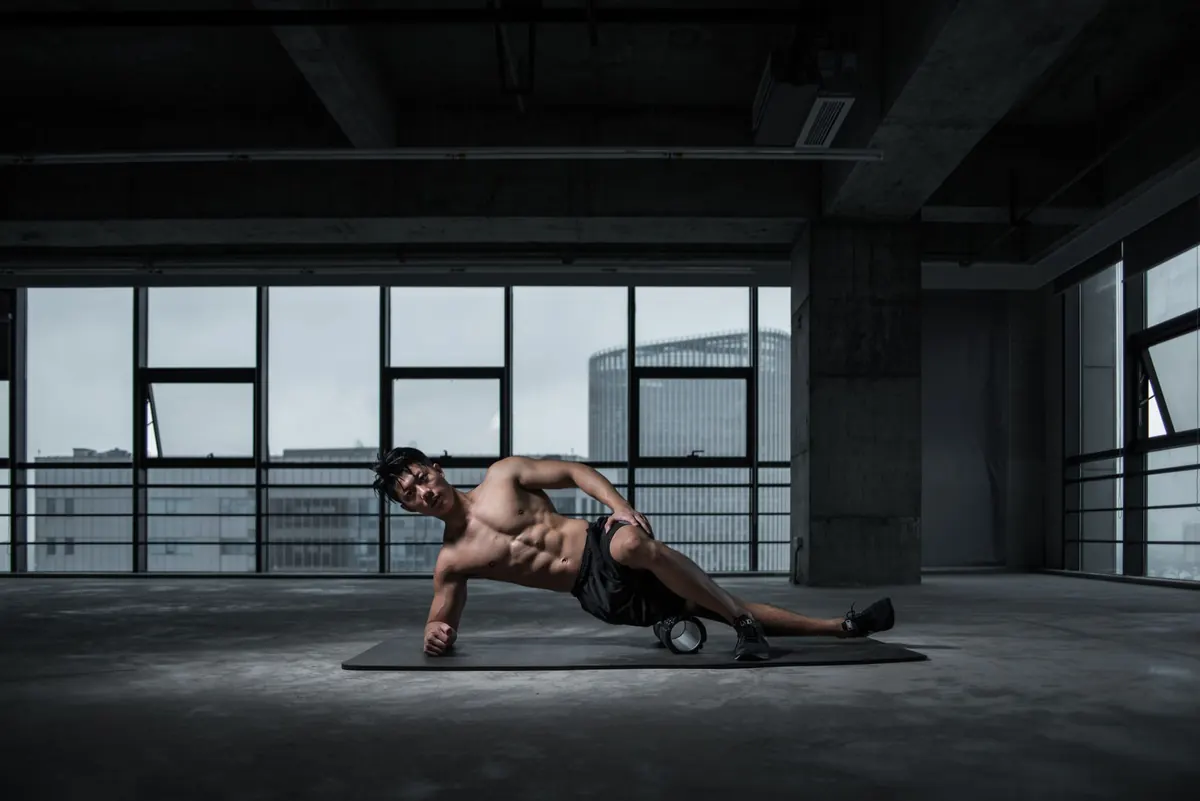
Lie on your side with the roller under the outer hip, just behind and below the front hip bone. The dense band running down the outside of the thigh doesn't respond well to hard, direct pressure, so spend your time on the muscle above and behind it instead. Short, slow passes beat long, forceful ones here.
7. Feet and Arches
Not technically rolling, but it belongs on the list. Stand and work a lacrosse ball or firm roller under your arch from heel to the base of the toes, pressing down with maybe 60 percent of your weight. Thirty seconds per foot loosens the whole lower leg chain and feels great after calf raises or heavy walking lunges.
A Five-Minute Flow That Covers All Seven
- Feet and arches, 30 seconds each side.
- Calves, 45 seconds each side.
- Hamstrings, 45 seconds each side.
- Glutes, 45 seconds each side.
- Quads, 45 seconds each side.
- Adductors, 30 seconds each side.
- Outer hip, 30 seconds each side.
Mistakes That Slow Recovery Down
Rolling the sorest spot for ten minutes straight rarely helps; soreness often refers from somewhere else, so work the whole chain. Rolling too aggressively can leave you feeling bruised and stiffer than before. Treating the roller as a substitute for sleep, protein, and water is another dead end — those do far more for recovery than any tool. Finally, follow rolling with light movement. A ten-minute walk beats lying on the couch afterward.
When to Skip the Roller
Skip it if you have an acute strain, a bruise, swelling, or a joint that's hot and painful. Numbness, tingling, or pain that shoots down the leg isn't a foam rolling problem. Neither is soreness that keeps getting worse past 72 hours, or severe muscle pain with swelling or dark urine — that warrants prompt medical attention. If you're unsure whether something is normal soreness or an injury, ask a physiotherapist or your doctor before you start digging around.
What to Do Tonight and Tomorrow
Roll for five to ten minutes, drink some water, eat something with protein, and get to bed at a reasonable hour. Tomorrow, move: walk, cycle easy, or do a few bodyweight squats and hip hinges. Soreness fades on its own within a few days, and the roller just makes the wait more comfortable. Keep the checklist handy, work through it in order, and leg day stops feeling like a two-day sentence.
Photo: Li Sun / Pexels